Hexo+GitHub is the most popular technical solution to write, publish and write personal blogs. In this blog, I will write the whole process to build my blog site on github based on Hexo, although there have been technical articles about this topic.
1. Requirements for PC
Most users will write blogs on the specific directory of PC, therefore this directory will also be taken as the local repository of Github to host blog contents. Therefore, there are three requirements for PC as follows as follows:
Adding the SSH and GPG keys to GitHub (Optional)
If users have added the SSH and GPG keys to GitHub before, please skip this step.
(1) Type the command on PC:
1
ssh-keygen -t rsa -C "your github email"
(2) Type Enter key to confirm its default settings until the ssh key is generated
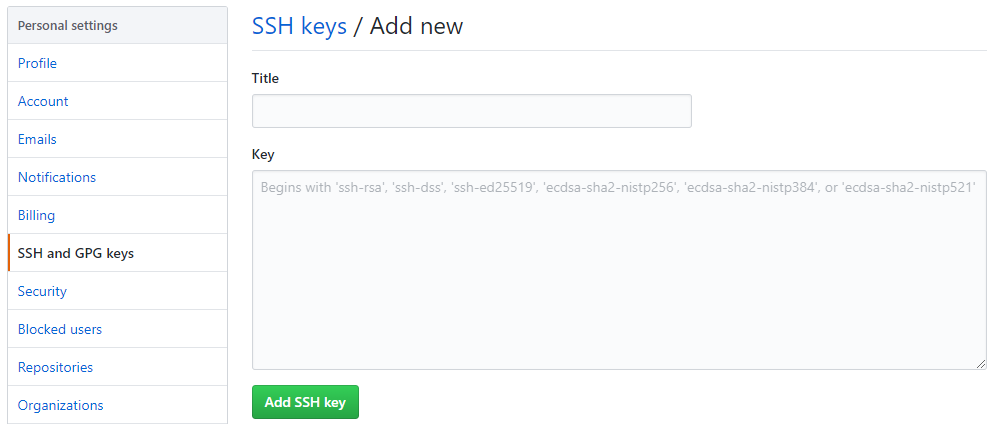
(3) Copy the text offile .ssh/id_rsa.pub to github as follows:
- Installing Node.js
Download the Node.js installer from its offficial website, and install it. - Installing Hexo
1
npm install hexo-cli -g
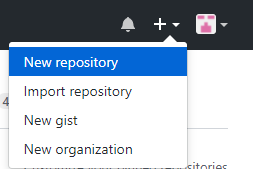
2. Create Repository on GitHub
New Repository
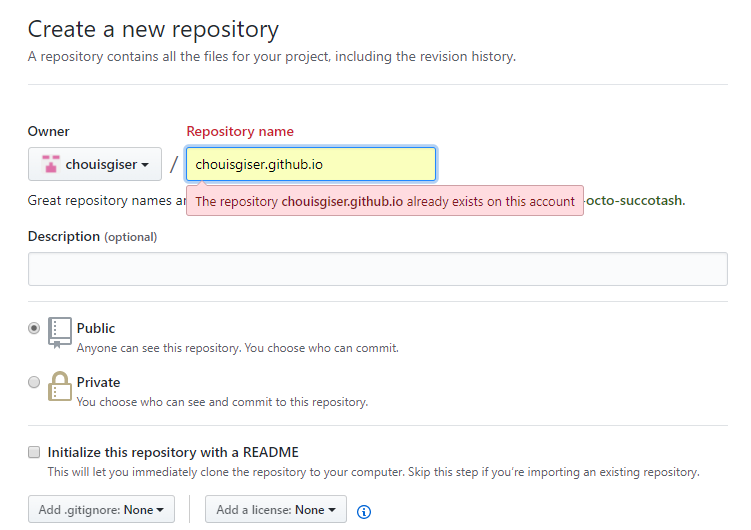
Set the Repository
3. Build Local Blog Site
Hexo Initialization
1
2
3hexo init chouisgiser.github.io
cd chouisgiser.github.io
npm installGenerate Blog Site Page
1
2hexo clean
hexo generateRun the Blog Site
1
hexo server
Open the website localhost:4000 on your browser, the reulst will be:

4. Create A New Blog
New Hexo Blog
1
hexo new first_post
A markdown file named first_post will be created in the directory: /source/_posts/ like this:

Publish the New Blog
1
2
3hexo clean
hexo generate
hexo server
5. Deploy the Blog Site to the GitHub
Install the Plug-in
1
npm install hexo-deployer-git --save
Edit the _config.yml
Alter the repo name in _config.yml to your own github repository like this:

Deploy
1
hexo deploy
Then, you can access your own blog site using the url “https://chouisgiser.github.io" (mine)
6. Choose and Install Hexo Themes
You can also choose your favourite hexo theme to beautify your own blog site from hexo site.
Notice: you should change your theme name in _config.yml to your chooosed theme, such as:
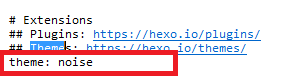
In this way, a personal blog site chould be generally built.
7. Manage and Synchronize Blog Site Source
This step mainly aims to manage your blog site source in multiple personal computers (such as at home and at office).
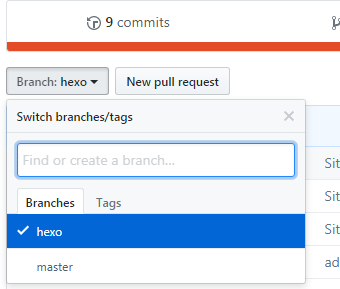
New Branch from the GitHub Repository
In this example, the branch is named hexo as follows:
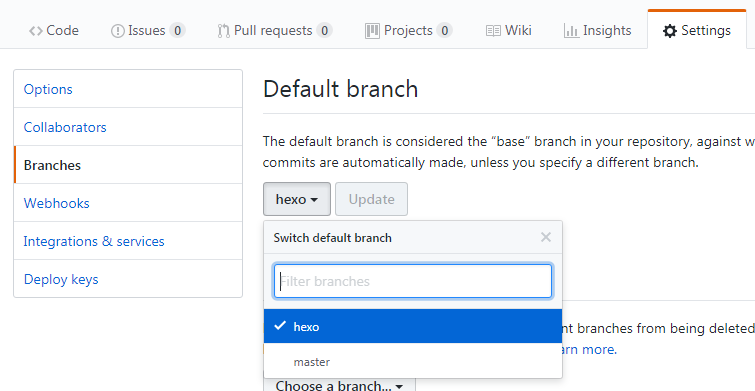
Set the Default Branch
Initialize Git Environment of the Local Repository in PC
1
2git init
git remote add origin https://github.com/xx/xx.github.io // your own repo urlPull the Remote Branch
1
git pull
Checkout the Branch
1
git checkout hexo
- Add The Blog Site Source to Remote Branch
1
2
3git add .
git commit -m "your comment"
git push origin hexo
- Clone and Install on Another PC
1
2
3
4
5git clone https://github.com/yourname/yourname.github.io.git
cd yourname.github.io
npm install hexo
npm install
npm install hexo-deployer-git --save
8. Acknowledgements
During the whole process, I also refer to another blogs as follows:
- My best friend Sawyer’s blog
- 多台电脑使用Hexo
- 在不同电脑上进行Hexo写作与同步